The webusers administrative panel is available only for users with administrative rights. Through this panel, the user can see all the webusers associated with the currently used account. The main webusers panel provides the following functionalities and information:
- Creating a new webuser
- List of webusers
- Webuser search
Creating a new webuser
To create a new webuser click New Webuser. A new panel will open on the right, where you can enter the following details for the new webuser:
- Name – the name for the webuser
- User type – administrator or user
- Login – login name that will be used when logging in
- Email – the email of the webuser. A checkbox can be ticked below to send an email with a link to set the password.
- Language – interface language for the webuser. Note that it may also change the date and number formatting, according to the selected language. (optional)
- Phone – phone number of the webuser (optional)
- Role – assign an existing role to the webuser. For role management, please contact support. (optional)
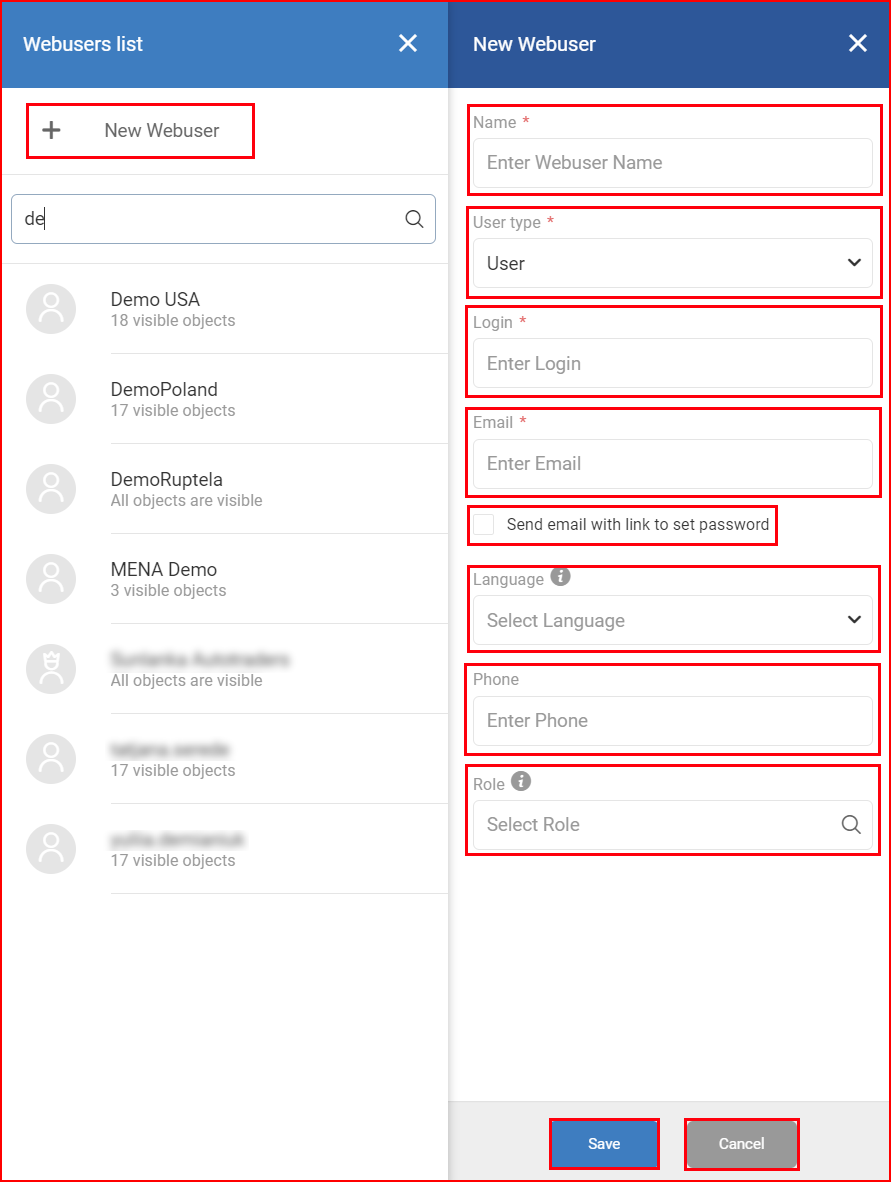
After all the required details are filled in, click Save to add the new webuser. To discard changes, click Cancel.
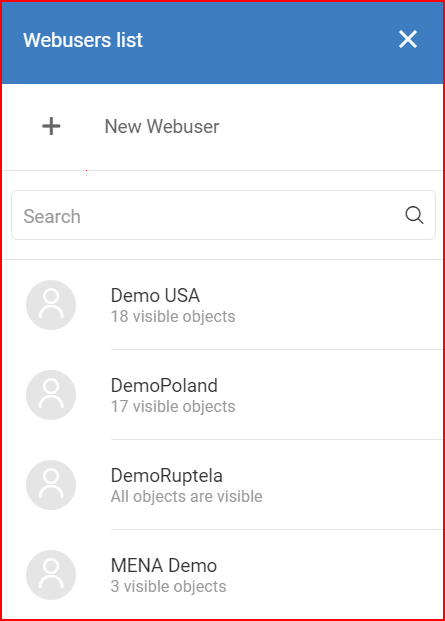
List of webusers
The list displays the following information about each webuser:
- Webuser name
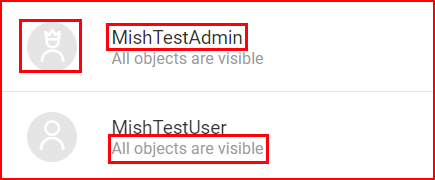
- Webuser role – user or administrator, administrators have crowns in their user icons
- The number of visible objects for that user
Users that are blocked will have a red circle next to their icons and a Blocked status will be displayed, as shown in the image below.

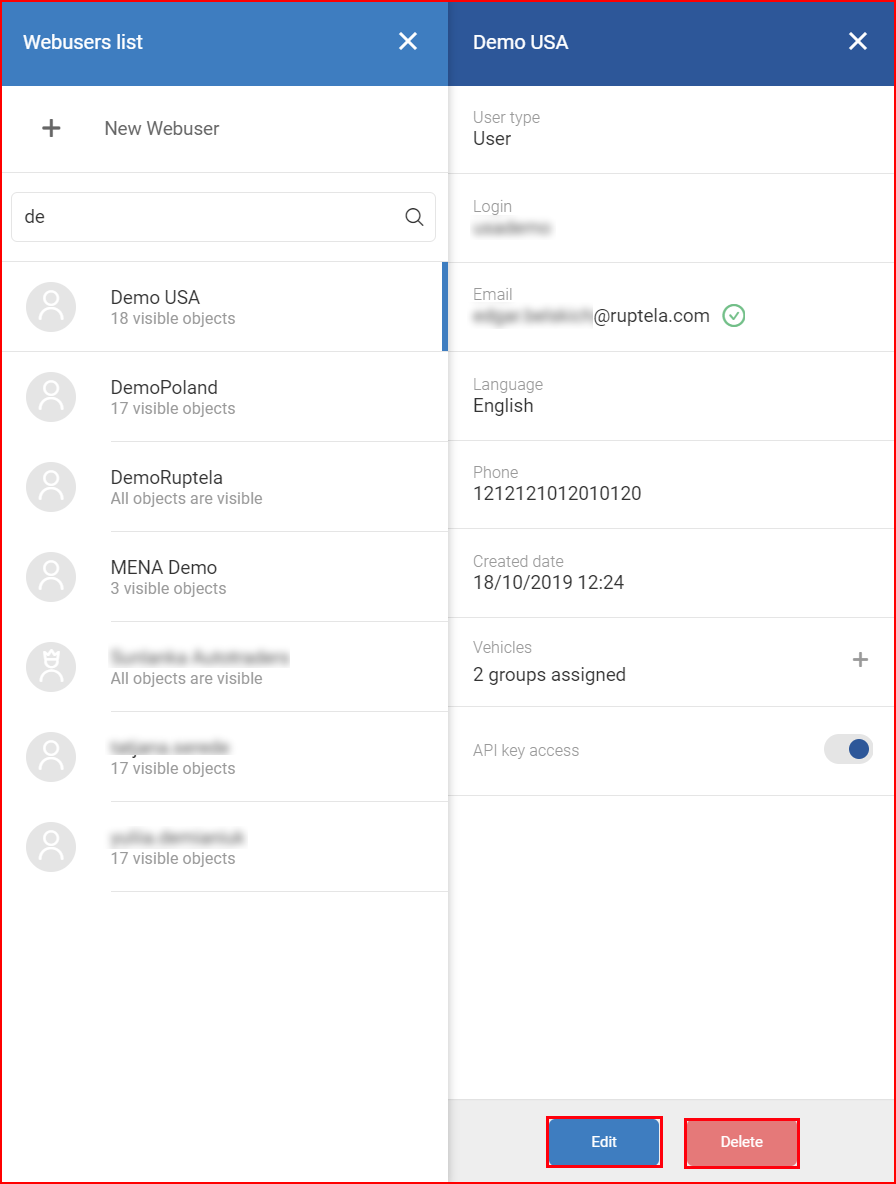
Clicking on a user in the list will expand the panel to show additional information and settings such as:
- Web user name
- User type – administrator or user
- Login – login name to be used when logging in
- Email – email associated with the user. A status button next to the email indicates whether it is verified
 or not verified
  .
. - Language – interface language of the webuser
- Phone – phone number of the webuser
- Created date – date & time when the user was created
- Vehicle groups assigned to the user
- A toggle bar for API key access. If enabled, the user will be able to generate API keys, as described in Account settings.

Note
If no vehicle group is assigned to the user, all vehicles will be visible for that user.
You can assign or unassign vehicle groups to an existing user, to do this, click the + symbol in the vehicle groups row.

This will open a new window with a list of all vehicle groups created for this account. To quickly search through groups, a search bar is implemented, which will filter the list with every inputted letter.
If a group was already assigned to the user, it will be marked with a blue tick. To assign more vehicle groups, simply put ticks near groups that you want to assign to the user. To unassign a group, simply remove the tick. You may also tick Select All to assign/unassign all vehicles. After any changes, the Done button must be clicked to save the changes.
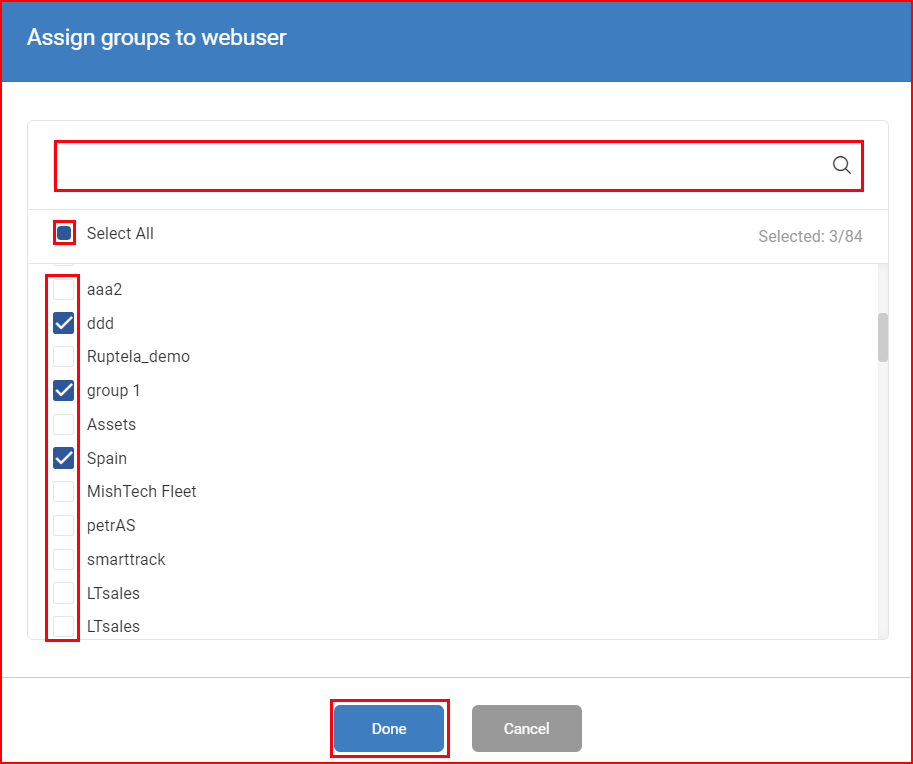
To discard changes, either click the Cancel button, or simply click anywhere outside the assignation window.
Vehicle group creation is described in the Overview menu.
You can also edit or delete existing webusers. To edit, click Edit at the bottom of the expanded user information window. You will be taken to a panel that is similar to the New webuser panel. After making changes, Save them or Cancel to discard any changes. To delete a webuser, click Delete at the bottom of the expanded user information window.
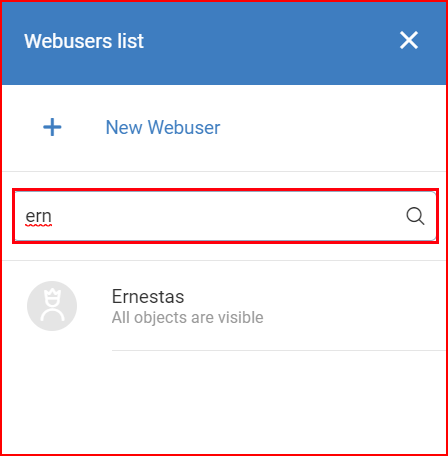
Webuser search
To find webusers, start typing the name of the user in the search bar located above the user list. The list will be updated and filtered as you type.