The tasks panel is accessed by clicking the “Tasks” tab in the Routing & Tasks panel.
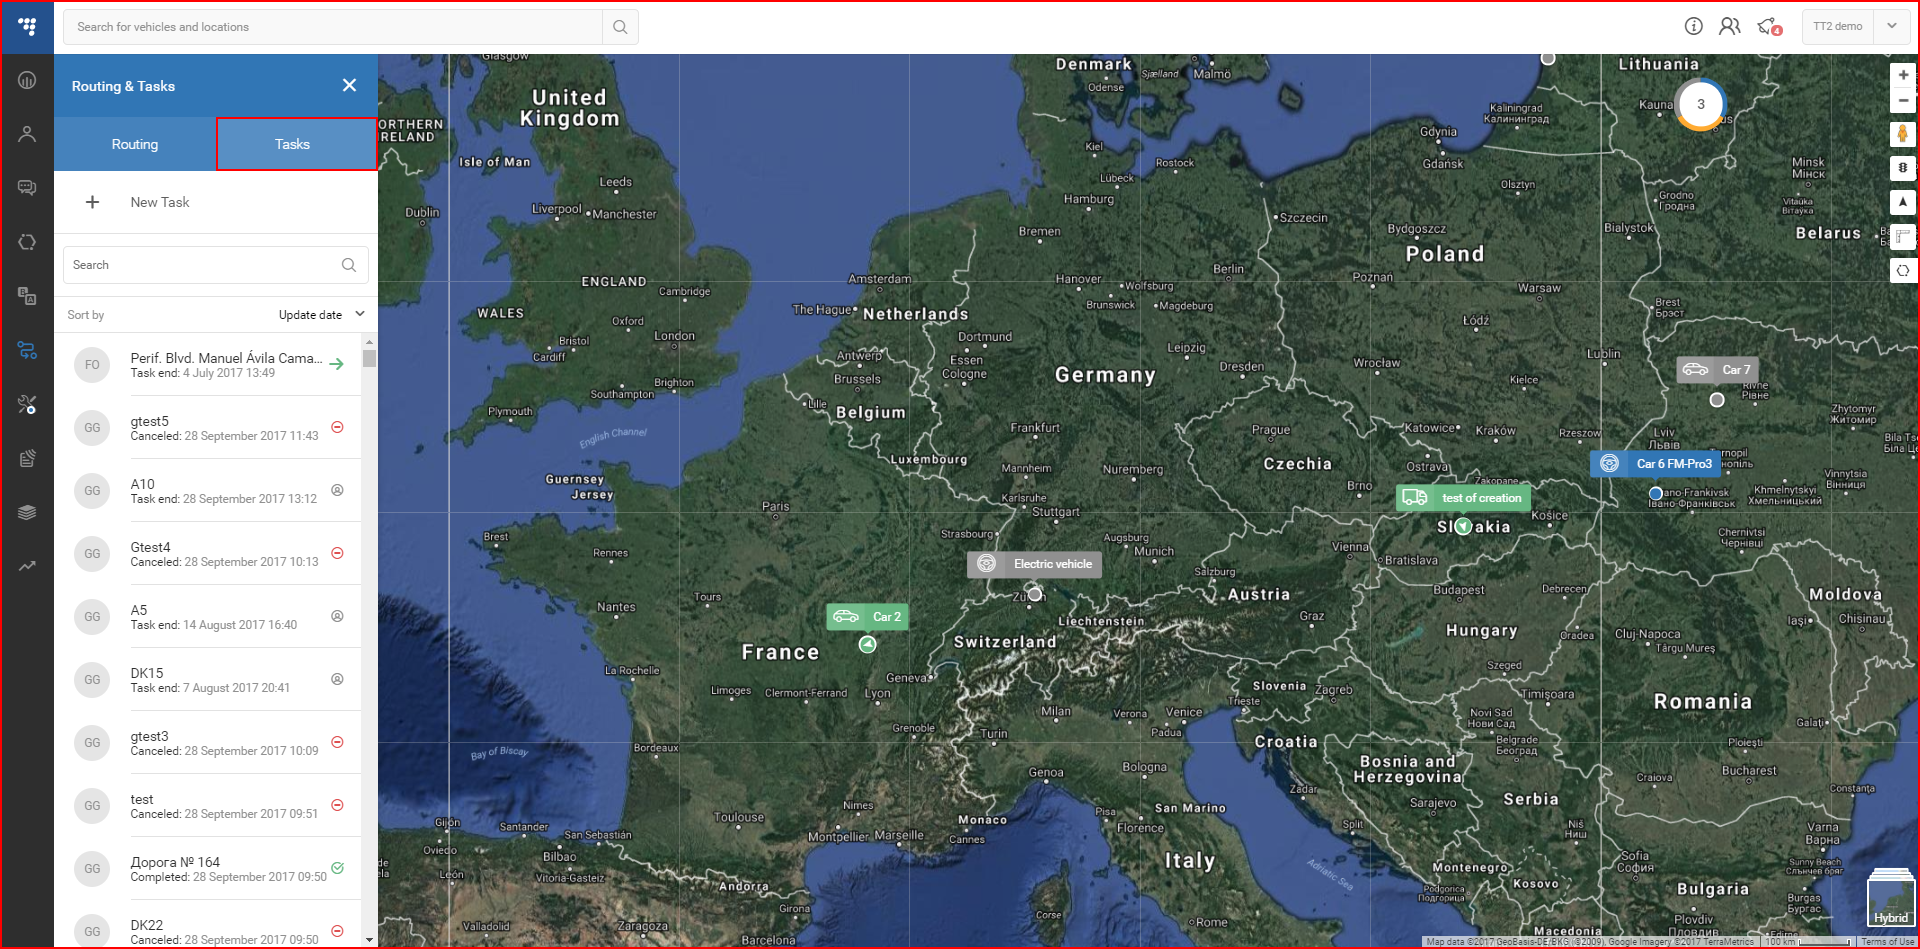
After clicking the tasks tab, the task panel will open. At the top of the panel the “+ New Task” button is located, clicking this will navigate the user back to the “Routing” TAB, where the user must first select a starting point and a destination point for the task.
Note
The task is automatically assigned to the nearest vehicle, or the selected vehicle from the nearest one found in the specified radius. It is highly recommended to select the targeted vehicle as a starting position, because if the vehicle is not within the specified radius of the starting point, it cannot assigned during the task creation. If no vehicle are within the specified radius, the task cannot be created.
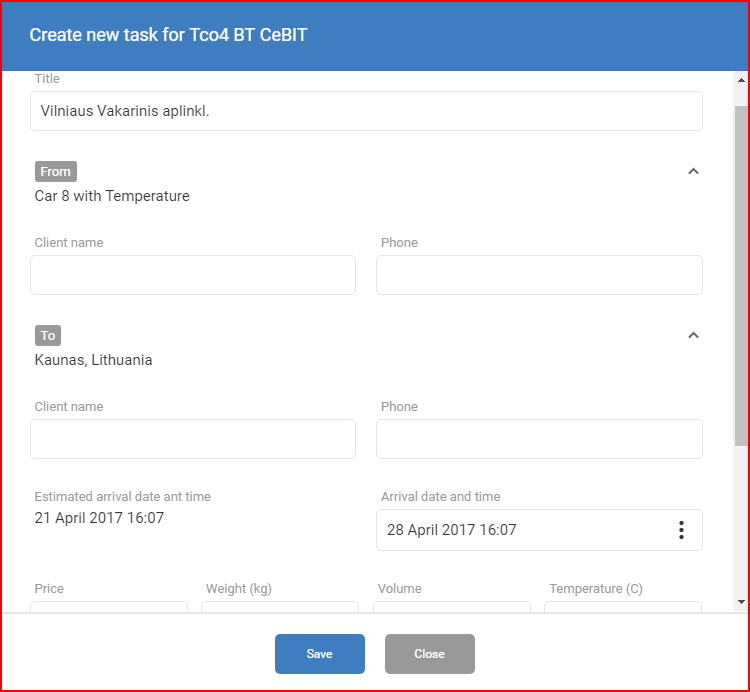
After selecting a route and clicking the “Create task” button, a new window called” Create new task for <selected_vehicle>” will appear with the following fields:
- Title – Name of the task, this name will also be displayed in the tasks list;
- From destination point – the start point specified in the route, with the possibility to add additional information about the client;
- To destination point – the end point specified in the route, with the possibility to add additional information about the client;
- Estimated arrival date and time;
- Preferred arrival date and time;
- Additional information – such as price, weight, volume and preferred temperature.
After all the necessary information is inputted. The user must click the save button to create the task. If the user doesn’t want to create the task he must either click the close button or simply click anywhere outside the window. After creating the task, it will be added to the list in the panel, and already assigned to the vehicle.