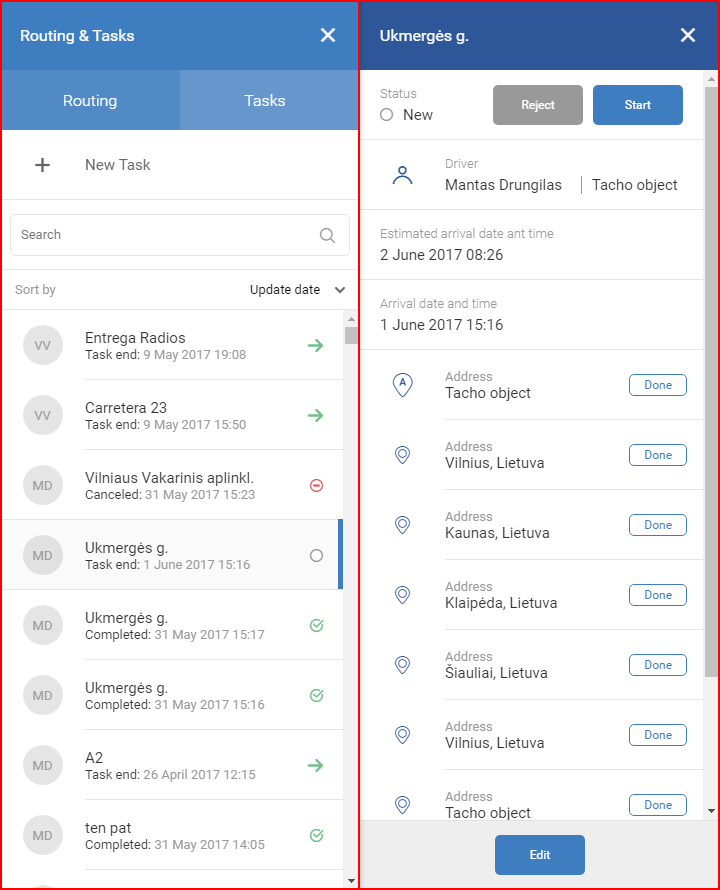
All tasks are displayed below the Create new task field. To help navigate between tasks, a search bar is implemented. It will auto update the list with every character inputted in to the search bar. Another way to filter task is to use the Filter tasks drop-down list, where the user can select a filter by which to filter the task. By default tasks are sorted by date with recent tasks located at the top and older tasks located at the bottom. To change a filter simply click the small down arrow located to the right side of the Filter tasks drop-down list, the currently selected filter will be highlighted with a small blue bar to the right of the filter name. The following filter options are available:
- All – all tasks;
- New – tasks that have not been started yet;
- In progress – tasks in progress;
- Complete – tasks marked as complete;
- Rejected – tasks rejected by the driver.

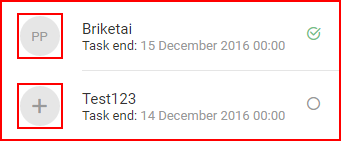
Selecting a filter will auto update the tasks list. Tasks have the following markings near each of it. The first marking is the big grey circle at the beginning of a task, if unassigned a big + will be shown in the circle. If the task is already assigned, initials of the driver will be displayed in the grey circle.
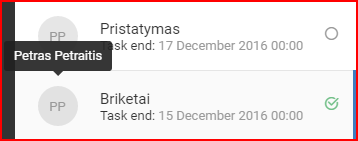
Moving the mouse pointer over the grey circle will highlight the driver name or Unassigned.
The second identification marker is located to the right side of the task. There are 5 possible statuses for this marker:
- Status: New –

- Status: Seen –

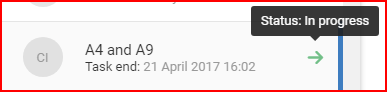
- Status: In progress –

- Status: Completed –

- Status: Rejected –

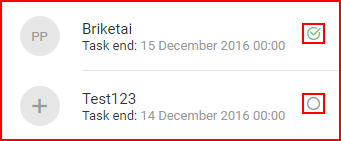
Moving the mouse pointer over this marker will highlight the status.
If a task status has changed and the operator has not yet seen the task (has not opened it) it will be highlighted with a bold font in the list.

The number of unseen tasks is displayed in the Tasks tab.

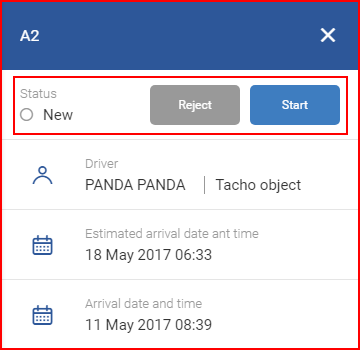
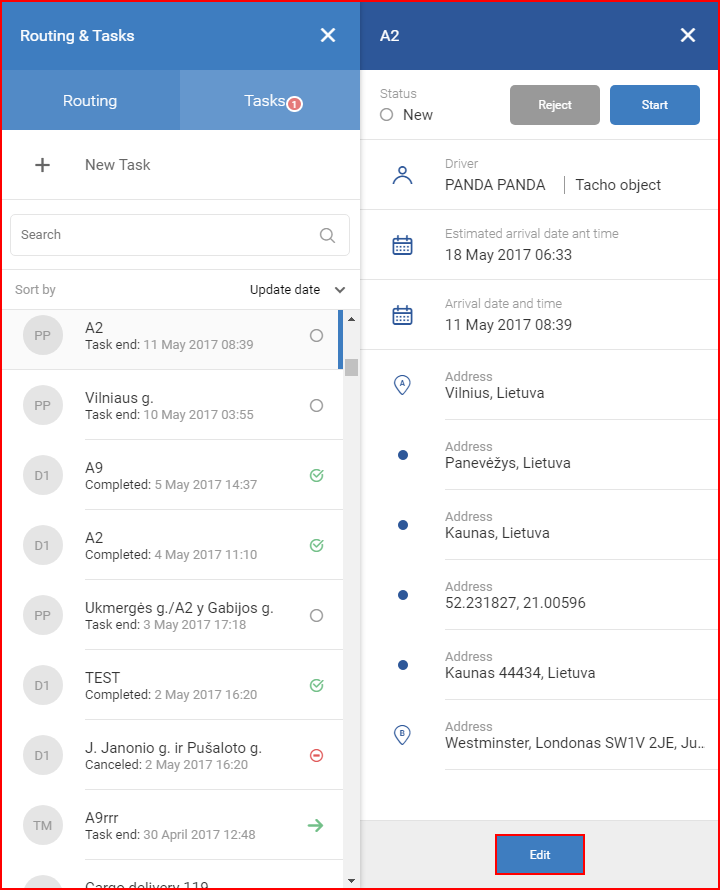
Other information that is present with every task is the task name, system estimated arrival date and time, preferred arrival date and time and way points – destination points. Clicking any task will open an extended view panel for that task. This panel will contain all the information inputted when creating the task. All the fields are self-explanatory. Some addresses may have drop down buttons, clicking which will show additional information about the destination. This information may include the client name, contact phone number or additional information.
Statuses of tasks that are New or In progress can be changed not only by the driver, but also by the operator. This is useful in cases when the driver has no access to the internet to update the task statuses or simply forgot to do it.
Not only can the operator mark the whole task as complete, he can also mark only parts of the task as complete (or undo the completion). This refers to the way points in the task. The operator can now mark way points within the task as Done, or in various cases, undo the status. This changes can be made only while the task is New or In progress.
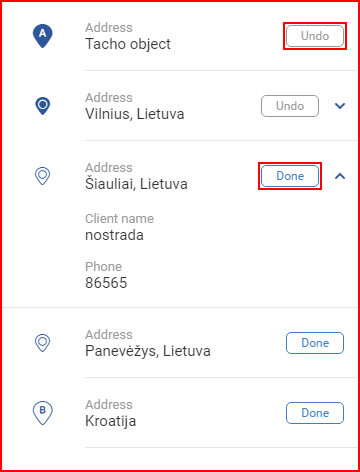
Completed way points will be highlighted in blue, while the incomplete way points will remain unhighlighted. Way points are marked as done automatically by the system, once the vehicle enters a way point geofence of 250 meters from the destination.
Note
Editing a task is allowed only until a task is completed or rejected.
To edit a task, the user must select the task and the Edit button will be present at the bottom of the task overview panel. Clicking it button will open an identical new window to the Create new task with information already filled from the current task. Only minor information can be edited in the edit menu, such as preferred arrival date, client numbers, etc. After any changes are made, the Save button must be clicked, otherwise the changes will not be saved. If the user does not want to save the changes, he must click either the Close button or simply click anywhere outside the window.
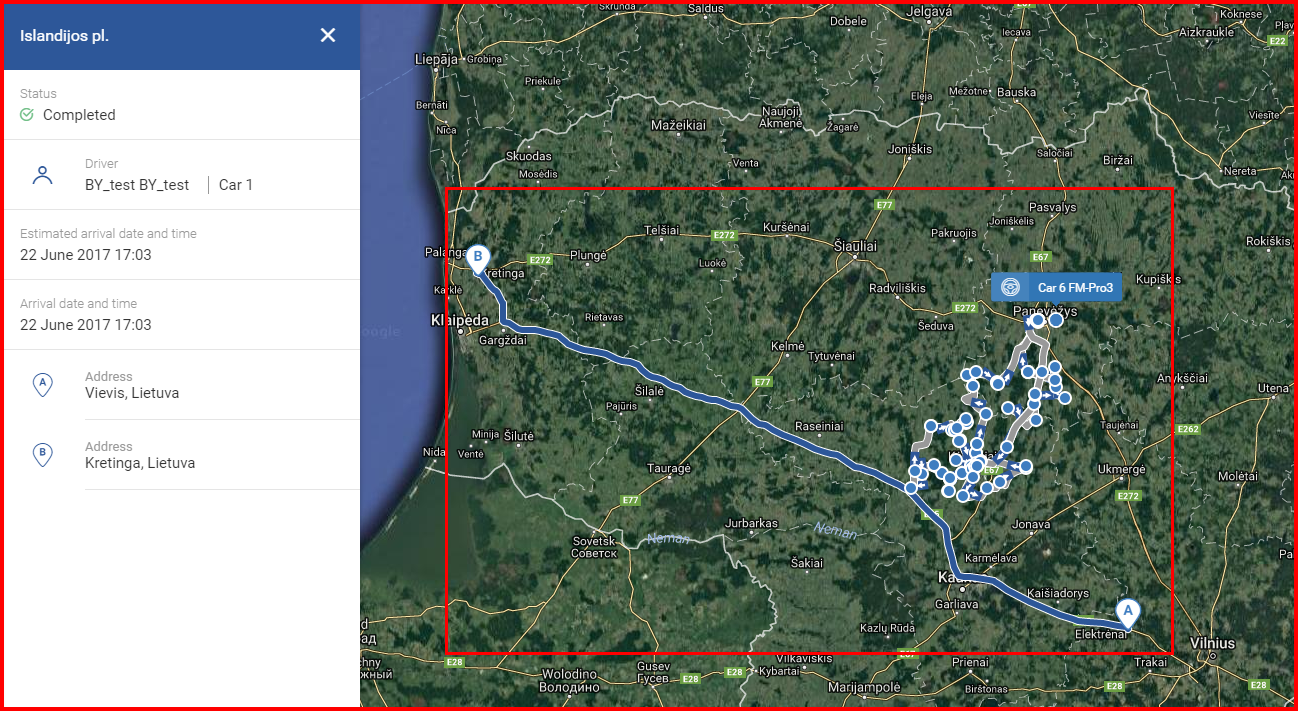
Lastly, the user can now compare the marked task route versus the actual route of the vehicle, to do this, the user must select a already complete task in the list and check the map. The planned route of the task will be highlighted in blue, while the actual route of the vehicle will be marked in gray, with blue dots marked as stops.